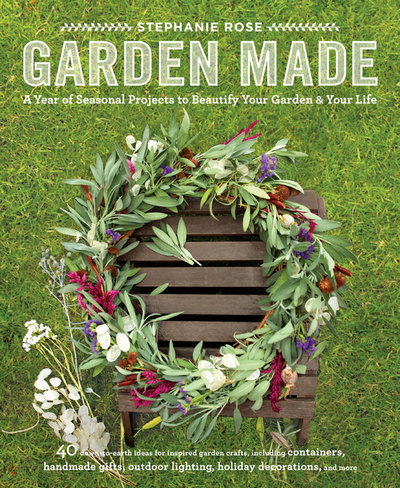
She aims to inspire as well as be accessible, writing of her projects: “They are meant to sweep you away, allow you to dive in to a sensory experience that engages your body and mind, and leave you with something beautiful to enjoy in your home or garden.” We offer two of them, Mason jar forced bulbs and evergreen gift tags, below.
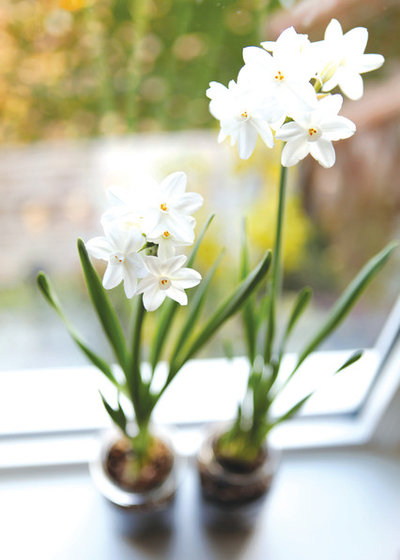
Bulb forcing has been a gardener’s pastime since the 1800s. If you are an antiques hunter, you may have seen hyacinth glasses or forcing vases: pinched-neck glass vases with wide bottoms. Perhaps you have seen more current displays of fragrant paperwhites set in soil at a florist shop. The hobby’s longevity is understandable when you come to appreciate that spring’s fragrant blooms can be grown right on your windowsill, in the fall!
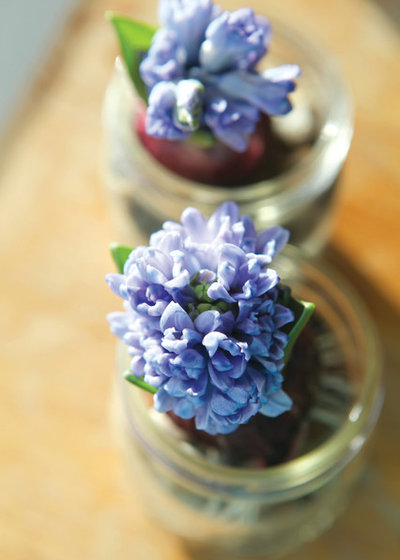
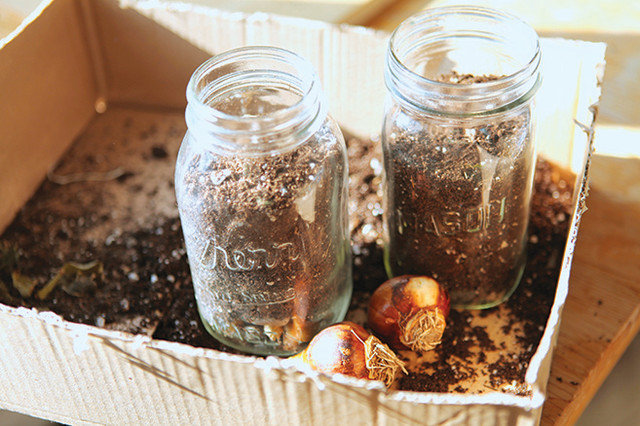
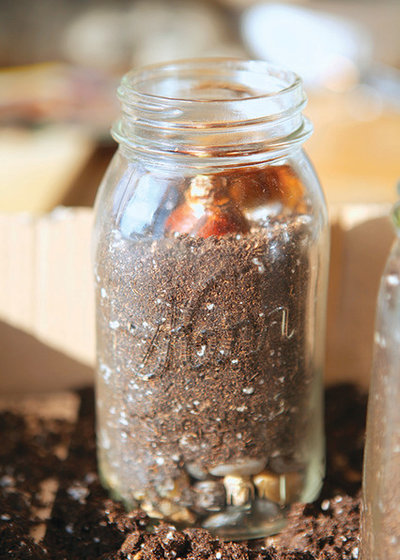
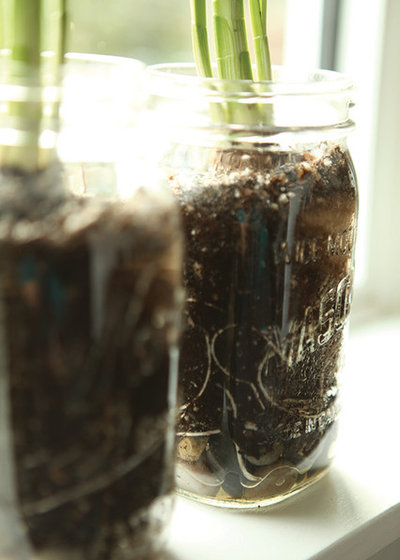
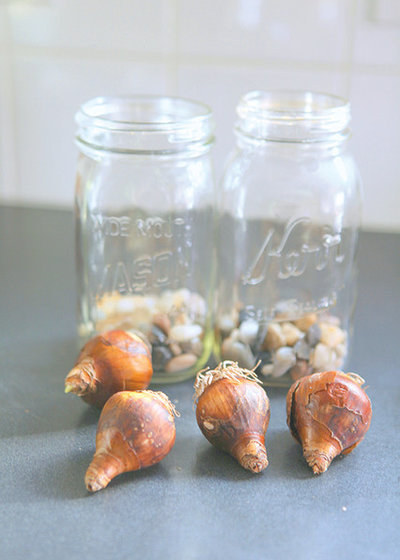
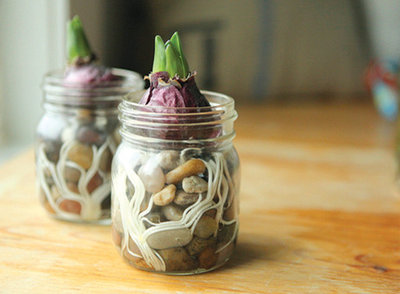
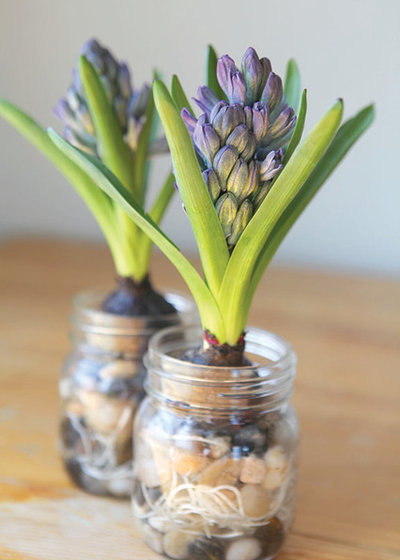
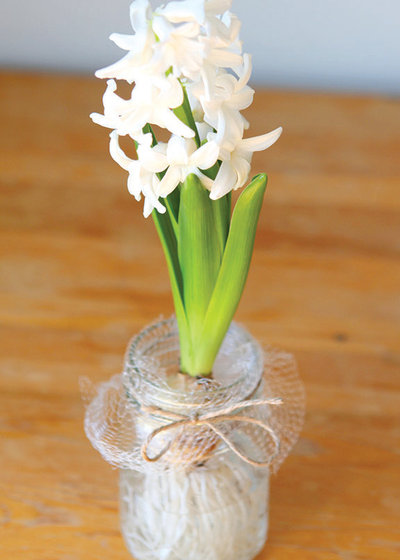
Forced bulbs provide a fresh, long-lasting display of bright green leaves atop a growing bulb that is decorative enough in its own right, even before the flowers appear. Here are three different ways to create gorgeous Mason jar forced bulbs: in soil, in pebbles and in water.
Materials
- Quart-size or larger Mason jar
- Clean ½-inch-diameter stones
- Indoor potting soil mix
- Paperwhite bulbs
2. Keep an eye on the roots: They should be white and long, winding through the soil in the jar. Being able to see below the surface adds to the charm of the container, and it makes a great learning project for kids.
3. After blooming, keep the greens watered until the soil warms up enough to plant them in the spring garden. They are not likely to bloom again during the current season, but if they naturalize you will get to enjoy them in many a spring to come.
Materials
- Wide, pint-sized Mason jar with a regular-size mouth
- Clean ½-inch-diameter stones
- Prechilled hyacinth bulbs (Hyacinth ‘Delft Blue’ shown)
Materials
- Wide, pint-sized Mason jar with a regular-sized mouth
- Plastic mesh
- Garden twine
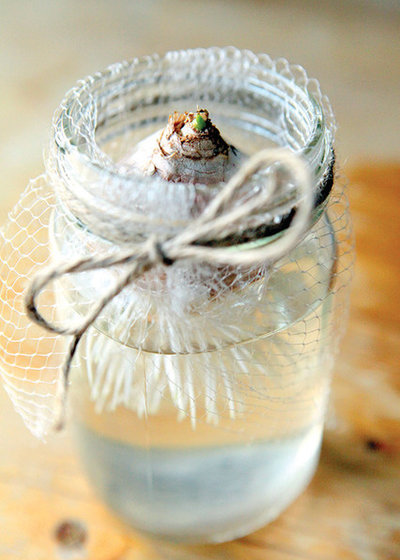
- Prechilled hyacinth bulbs (Hyacinth ‘L’Innocence’ shown)
1. To force bulbs in water, create a hammock out of plastic mesh to allow the bulb to sit above the water line. Shown in the photos here is the packaging from the decorative stones I used in the pebble-forcing method, but you could also use purchased mesh or the packaging often used with onions and avocados.
3. Fill with water to one-quarter of an inch from the bulb bottom. The roots will quickly find and reach the water.
Forced-Bulb Care
Once the bulbs are planted, set them in a room where there is ample indirect light and a temperature of around 60 degrees Fahrenheit. Add clean water as needed.
Weeks to Bloom
Hyacinth, crocus and Muscari species (grape hyacinth), pictured below, take two to three weeks to bloom. Paperwhites take three to five weeks to bloom; amaryllis bulbs vary by species.
To force most bulbs indoors, they need to be prechilled, with the exceptions of amaryllis and paperwhite bulbs. The best bet is to buy prechilled bulbs at the garden center.
One way to chill bulbs is in the fridge inside a paper bag. Just be sure to keep the bag in a crisper drawer away from any other food. The idea is to trick the bulbs into starting their spring growth by faking winter. Note that each type of bulb will have a different number of weeks required for chilling. Hyacinth bulbs need one to 12 weeks of chilling. Crocus and Muscari species (grape hyacinth) need 14 to 15 weeks.
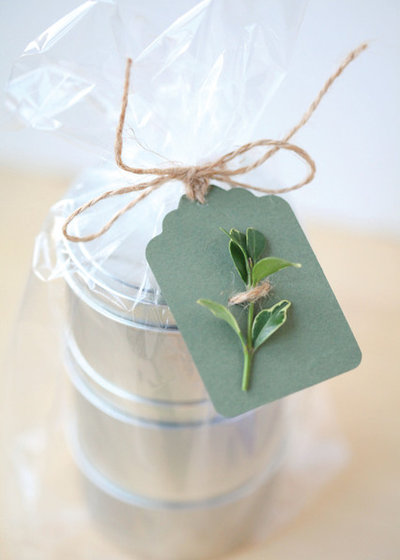
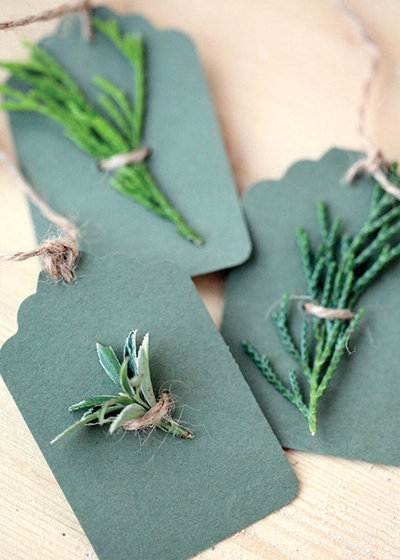
By adding evergreens to the garden, you are sure to have more than just a patch of dirt in the winter months. The evergreens in my garden provide yearlong supplies for crafts and garden projects, like these gift tags. Snipping a leaf from right outside your door makes an easy decoration and it adds a little life to your holiday gifts.
- Evergreen clippings
- Card stock
- Craft punch or scissors
- Jute twine
- Small hole punch or sharp skewer
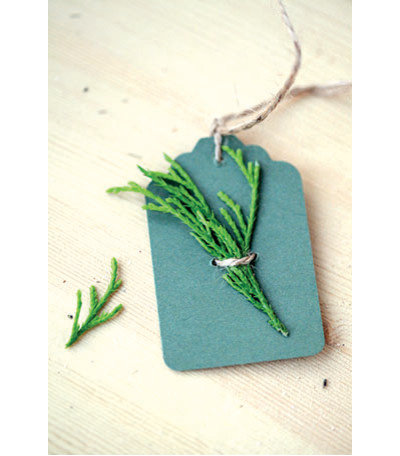
1. Collect evergreen leaves from the garden or woods. Leaves that work well come from cedar, boxwood, pine, euonymus, holly and hemlock. Some evergreens shed their leaves as soon as they dry out, so test a few kinds of leaves for their longevity indoors.
2. Use a craft punch to cut out the tag shape from the card stock. If you don’t have a tag punch, then simply cut out a tag shape with scissors.
4. Thread both ends of a piece of jute twine through to the back of the tag from the two holes in the middle. Thread one end of the twine through the top hole from back to front.
5. Insert the evergreen leaf into the loop created by the jute twine and the two center holes.
More
Holiday DIY: Handmade Ring Holder and Pompom-Embellished Stocking
